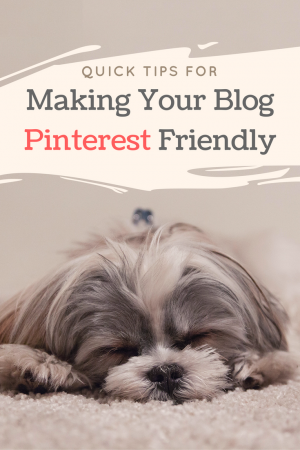
When it comes to Pinterest, don’t get caught napping! Spruce up your blog and join us for a Bloggiesta Mini Challenge for creating Pinterest-friendly blog posts.
As many of you probably already know, Pinterest is a popular social networking site that allows users to organize links, images, and videos by pinning them to virtual bulletin boards. Each link is represented by an image and a snippet of text.
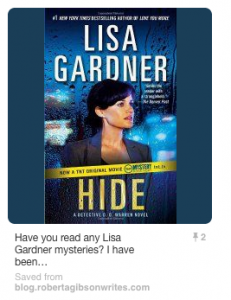
Example Pinterest Pin
Pinning is a great way to keep track of and share information for projects, hobbies, and pastimes. It also helps you to attract followers for your blog and build your platform. Pins have a longer shelf life than other forms of social media. People may discover your links days, weeks, months or even years after you first pinned them.
Even if you don’t use Pinterest personally, many of your readers do and it pays to make it easy for them to share links to your work.
Here are some quick tips to get you started:
Tip I. Include Pinterest-Friendly Images in Blog Posts
Most bloggers know to include images in posts because they break up the text and increase page views (see a discussion why images are important at HubSpot). Because Pinterest users rely on images to identify interesting links, it is critical to pay attention to proportions, quality, and naming of the images in your posts. The good news is that Pinterest-friendly images look good on other social networking sites, too.
Step 1. Locate quality images appropriate for your topic.
If you like photography, you may want to take your own photographs for blog posts.
Sometimes, however, you don’t have the luxury of taking your own photographs. If so, there are many places to find high quality images on the internet. Always make sure the image is either public domain or that you attribute the photographer properly if you use an image you download in a blog post.
A few places to find high quality images:
- PublicDomainPictures.net has both public domain and stock photos.
- Freeimages.com is a part of Getty Images.
- Visualhunt.com offers public domain photographs, although be careful because some have Creative Commons Licenses
- Pixabay
- Unsplash is known for its free high resolution photographs.
Step 2. Choose an image-editing program.
Adobe Photoshop has been the reigning champ of photograph editing for so long that it is regularly used as a verb (She was photoshopped). Not everyone can afford it, though. Learning to use it can take time, too.
Looking for an alternative?
- Personally, I use Adobe Illustrator more often than Photoshop for creating blog buttons, etc.
- Aviary is another Adobe product.
- Gimp is a free, open source image manipulation program.
- Canva is for designing. You can do a lot with the free options.
- PicMonkey is popular (check this previous mini challenge)
- Need an infographic? Piktochart is the way to go.
Step 3. Crop images to correct proportions
Vertical images (those taller than they are wide) work best for Pinterest. The current recommendation is 735 pixels wide by 1102 pixels tall or a ratio of 2:3. I created the top image in Canva using their Pinterest template at 735 by 1102 pixels and then reduced it to 300 by 450 pixels to place in the post.
Step 4. Add graphics and text.
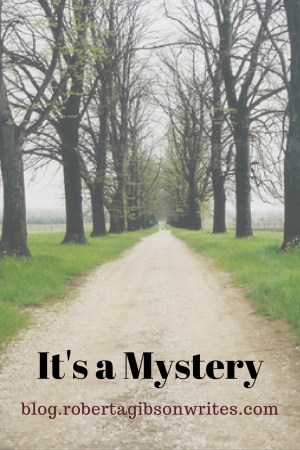
Remember to include your blog name and perhaps your URL, if the image isn’t too busy. I chose not to add it to the top image because it would have covered the adorable sleeping dog.
Name your image using keywords.
Step 5. Add the image to your post.
Encourage readers to pin your post right away by including the image at or near the top.
Once you have good, pinnable images in all your posts, go ahead and make sure the rest of your blog is optimized.
Tip II. Set up a Pinterest Board to Share Your Posts
Make your posts easy to share by setting up a Pinterest board for your blog and pinning posts to it regularly.
I’ve seen conflicting advice whether to give the Pinterest board the exact name of your blog. Common sense would suggest that if your blog title is self-evident and has a least a few keywords, the title should be fine. If you got creative with your blog title, however, you might want to add a keyword or two. For example, the blog title can be the board title if it is “Science Books for Kids,” but “Wrapped in Foil blog” might be better as “Wrapped in Foil’s Children’s Book Reviews.”
Remember to add a board description using keywords and also categorize it. Most book blogs will go in the “Film, music and books” category.
Tip III. Include Pinterest Social Sharing Icons
You probably already have social sharing icons, but it won’t hurt to double-check them.
- Most bloggers have “follow me” social networking buttons on their blogs, often at the top of the sidebar. Once you have a Pinterest board for your blog, create a button and link it to your board so people can receive your posts as you pin them.
- Check your “share this” buttons to make sure Pinterest is included. Readers should be able to share your posts to their boards easily.
- Consider getting a Pinterest browser button for your browser tool bar.
Tip IV. Engage Your Followers
Some tips for attracting and keeping followers on Pinterest.
- Always pin good, relevant content and make sure the pins go to valid post links, not just to the blog home. Nothing is more frustrating than clicking on a promising pin and not being able to find the post. Take the extra minute and make sure the links work.
- Instead of simply re-pinning material added by others, mix in some original content.
- Pin regularly, at least once a week (rather than bingeing).
- Follow your followers. You don’t have to follow all their boards, but it is usually easy to find at least one board that you like.
- Re-pin their material (see number 1).
#########
Pinterest Bloggiesta Mini-Challenge
For this mini challenge:
- Either create a new blog post or re-vamp an old one.
- Add at least one Pinterest-friendly image using the steps in Tip I.
- Leave a comment that you did the Pinterest mini-challenge with link to your post.
For easy sharing, I will pin your posts to a Pinterest Bloggiesta Mini-Challenge Board. Can’t wait to see how they look.
[pin_board url=”https://www.pinterest.com/sandverbena/pinterest-bloggiesta-mini-challenge-board/”]
Please let me know if you have any questions. I’m learning how to do this, too.
Now, back to Bloggiesta.
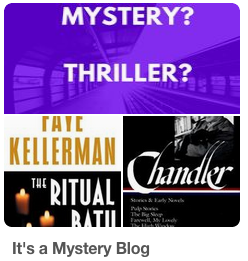


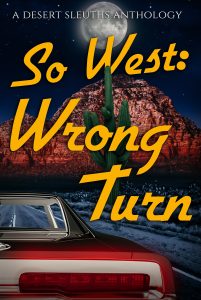


I created two Pinterest-friendly images here:
https://laurelrainsnow.wordpress.com/2016/09/15/pinterest-sharing-bloggiesta-mini-challenge/
Congratulations for completing the mini-challenge so quickly. It’s now pinned to our board, so you can see how it looks.
By the way, what a wonderful idea to share the place that inspired your book.
Thanks for this ! i never new how to dd text to posts and I made a pic! https://t.co/snmUJ0ZhOW
oops that link is wrong!
Kai,
Glad you tried the challenge. I tried looking for your post, but couldn’t find it. Is it published yet?
Oh my gosh, this post is so great. It really gives some good information and the step by step to do it. I def want to start a pinterest board for my blog, so I will give it a go.
Sandy, Looking forward to seeing how it comes out. Be sure to share your link.
I’m always wanting to add more images to my posts, will definitely try this out.
Diana, Can’t wait to see the results.
I wasn’t officially participating in Bloggiesta, but I always love checking out the mini challenges! I have been trying to make more Pinterest-friendly images once in awhile, but lately I’ve been wondering how much it’s working for me. I definitely get the sense that either I’m not using Pinterest the best way possible, or the book community’s just not really on Pinterest, because I simply never get that much traffic or interactions from it.
Briana, I hope you don’t mind, but I went and pinned one of your posts to the board.